Thursday, July 1, 2010

"Tomorrow" = "A Week from Today"

Hey, here are the actual measurements I took of our yard. Now I have to go cut the grass that is growing in our yard. Also, I should go through my stack of papers that has been growing out of control.


Thursday, June 24, 2010

Some Results

So, here is a 3-D graph of the surveyed yard. Units are 6ft distances.


The graph is ugly, but it is the best I could do with Excel and 1st-order approximations of the points I actually measured. I'll post the measurement sheet tomorrow.

Saturday, June 19, 2010

Surveyed!

Last weekend, I did some invention. I have to draw our yard, and then draw what it should look like with some retaining walls. Then I can submit all of this to the engineer at the concrete block place and he'll tell me what I did wrong. I'll get the results up here another time, complete with error propagation analysis, but I will spare you today.

What invention did I do? To survey land usually requires two people and some specialized equipment. I used a method that required neither. Witness!


As can be seen in the image above, the innovation I introduced to the world was incredible. Here is my secret formula: 1 six-foot martial arts staff, 1 two-foot level, and the handyman's secret weapon, duct tape.

The first step was to place my highly calibrated device -- wait for it -- on the very earth I was surveying. Note that there was a stick pressed into the ground to mark the point I'm measuring.


Next, I had to make sure the instrument was lined up with previous sticks stuck in the ground -- i mean, I had to align it with the existing calibration grid.


Once my scientific apparatus was in place, the next task was to raise the pole until the level read level. I then used an adjustable-length scale (commoners know it as a tape measure) and determined the height of the ground six feet away relative to the current point.


Using proper laboratory method, I then recorded my observations for later analysis. And I got bitten by mosquitoes, and worked on my farmer's tan. All in all, a good afternoon.

Thursday, June 17, 2010

Putting in a new exterior door

Tonight, I may put in an exterior door. I hope it works out.

-Justin

Thursday, June 10, 2010

Surveying

Having visited with an engineer at the materials place, he instructed me to draw out our yard and include drawings of where the walls should go. I think Back to the Basics has an entry on surveying, so I might take that up. I hope I can finish this afternoon! Then it might be contour maps and integrals for the rest of the evening.

Proverbs 27:23 - Be thou diligent to know the state of thy flocks, [and] look well to thy herds.

Tuesday, June 8, 2010

Retaining Wall Status: Planning

I have lamented our drainage situation on here many times. Recently, I posted about the trench I dug, which is working pretty well. However, we want to terrace the backyard and install drainage that is professional grade. So I'm going to talk to an engineer for a concrete block company about what it'll take to make that happen. In like, twenty minutes.

Thursday, June 3, 2010

It's been a while

Lately, we've been pretty busy. Let it be known, however, that we did put in new light fixtures for the bathroom and the kitchen, the which light fixtures are very pretty. Also, we have a threshold that Annie has been staining this week, which will bridge the gap between the kitchen and the living room. I'm about to go home and work on the lawn!

Wednesday, May 26, 2010

Windowsills

Annie has been painting window sills lately, as well as the rest of the window frames. I know what you're asking in your head but are too polite to post as a comment: Why didn't they paint the window sills when they painted pretty much everything else in their house? There's no need to overcome your bashful tendencies, because I will be forthright. We couldn't really figure them out. I mean, I was in a hurry getting all of the trim in, and the window sills were never removed, and I didn't know how they were mounted or what their shape was, and I didn't take the time to find out what a window sill really was.


Here's some before-and-after for ya!


TTFN

Monday, May 24, 2010

I dug a ditch

Saturday was largely invested in digging a ditch behind our house. It is modest, but it took the better part of a morning, and it is at least some temporary attempt to alleviate the millions of gallons of water that assault our home every rainstorm.

The main trick is the fall rate. You want at least a quarter of an inch every two feet (if memory serves) and I had to construct a level adapter by taking a quarter-inch bit of window trim and duct-taping it to the end of the two-foot level. Since we had some leftover frames from discarded cabinet doors, I used one of these to keep the level above ground so I could actually read it (and yes, I did make sure the frame was square before I used it for this purpose).

It was rough. I pulled something in my back (Annie suggested I push it back) and I got a bit of the prickly heat, but at least I'm safe in knowing that a couple of hours after digging the trench, some moles demolished one end of it.

I can't wait until it rains, though.

Friday, May 21, 2010

Trim in the Kitchen!

This week, we managed to purchase some trim, paint it, and install most of it. The baseboards went first, of course.


Then there was some hiding behind the refrigerator...


Followed by some window trim...


We are quite pleased with how the trim is playing out. We still have to install a threshold, hide the nail holes, and caulk, but it is looking pretty good. Also, I'm still really happy with the knobs:

Wednesday, May 19, 2010

Knobs!!!!1!!1111

Yes, it is the return of picturez.


We installed knobs. I used a drill.


Here are the results. We are very happy with them, because now we can open our drawers and cabinets without having to grip the edges of the door and put pressure against the slides/hinges from a direction from which those slides/hinges were never designed to take pressure. It's okay if you don't understand. I took a big test today, and my smooth language filter is not in operation.


We hope you enjoy them. We certainly do.

Wednesday, May 12, 2010

I Weed Et

This weekend, I attempted to perform the customary maintenance rituals on our lawn. The grass had grown quite high enough, so I went after it with gusto. Until the lawnmower gave out, the blade shaft bent once again. But then...

Then, I pulled out our weed eater for the first time. It's electric, thus requiring our exceptionally long, heavy-gauge extension cord. The vegetation around our house had begun growing into the siding, so it was an appropriate debut moment.

I've used gas-powered weed eaters before, but this has them beat. It's light, it's effective, and I understand how the line feeds from the spool into the outside world.

I had a good time, and our siding is safe from vine-related incursions.

Proverbs 24:27 - Prepare thy work without, and make it fit for thyself in the field; and afterwards build thine house.

Tuesday, May 11, 2010

Cabinets Stocked! (Partially)

We ran out of shelf liner! We'll get some more and then we can finish putting away minor kitchen appliances, fancy serving dishes, etc., in their proper places!

Also, we ordered some knobs.


Pretty soon, these babies will be adorning our kitchen and making us happy.

Monday, May 10, 2010

Cabinets Stocked...?

Tonight, we are hoping to finish the touches on the finishing touches on those cabinets. We finished painting them this weekend, and now we just have to line them and stock them. (Well, we want to install knobs on them eventually, but that's another story.) The hope is that all of the kitchen items that are piled up in the guest room and the study will be in the kitchen tonight! I'm excited!

Friday, May 7, 2010

Primer Primer

I think I may have learned the greater portion about how to prime cabinets. Annie still did the larger share, though:


I still overwork the paint. I have to work on that. It is not in my nature to use more than I deem I need, unless I'm at a Chinese buffet.

The cabinets are now primed, and Annie has been painting them all day. I hope we have our dishes put away by the end of the weekend! Our guest room is crowded.

Happy Mother's Day!

Wednesday, May 5, 2010

I am behind in posting.

We are beginning to put the initial coat of paint on the cabinets. I'm not a really experienced painter, making this a learning phase: if you will, a primer primer. [Token laughter appreciated.]

Other than that, we've been pretty busy doing other things. We'll get some pics as we paint the cabinets, though.

Peace!

Saturday, May 1, 2010

I am about to overdo it

Okay, a picture is worth a thousand words, making this my longest post ever by about THREE MILLION WORDS. I haven't had a flash drive for a week, so I am now reporting to you, Dear Reader, from our laptop inside of a Panera Bread. Buckle up.

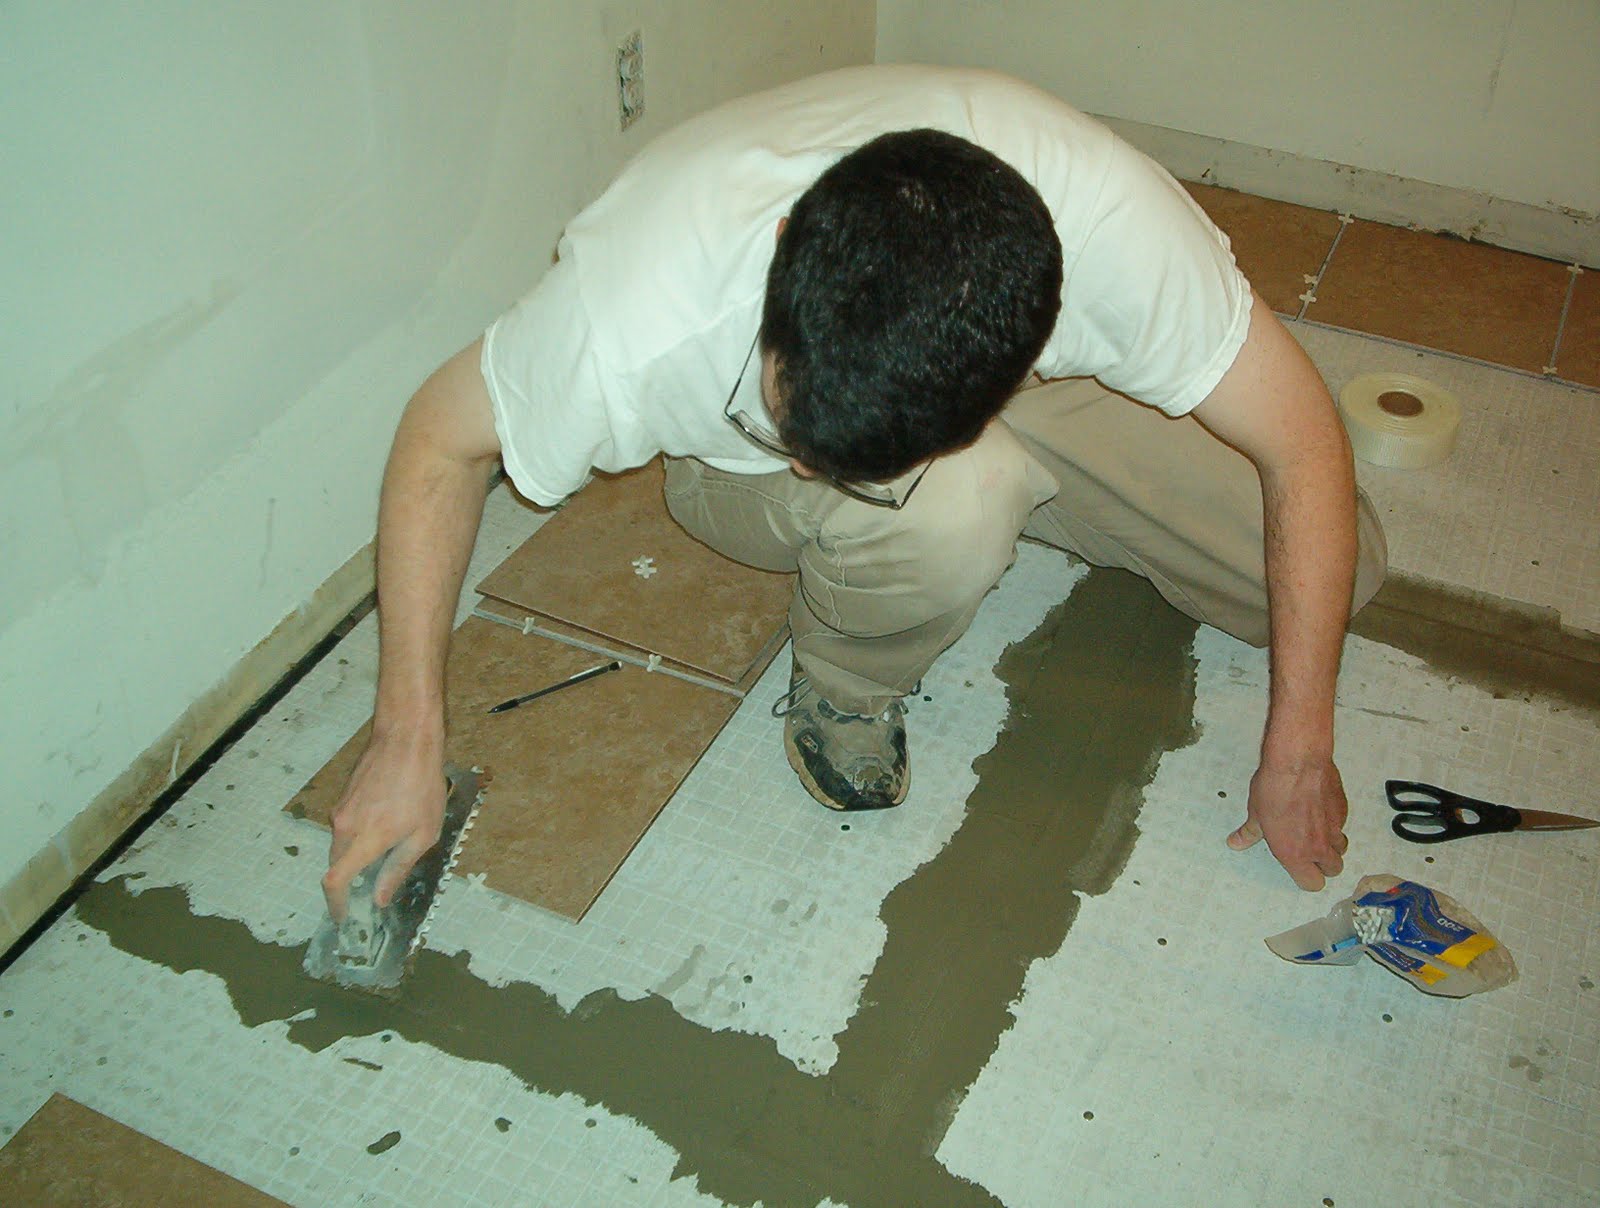
Remember how I was attaching concrete backer board to the floor? Did you wonder what the mortaring process looked like? BAM!


Is one angle not enough angles? BAM!


Perhaps a slight change in zoom level will be to your liking? BAM!


Okay, seriously, I won't upload every picture of everything. WHOOPS!


All right, I'll change subjects. The following night, I had to start by taping and mudding the joints of the concrete backer board with the same mortar that would be used under the tile. HERE IS WHAT IT LOOKED LIKE.


This was the beginning of the all-night tiling marathon.


This was the first tile I have ever installed in my lifetime.


Obviously, it was not my last.


I think this was the last one of the night, or rather morning, like SIX AM IN THE MORNING.


On another day in another week, we started grouting. That was more pleasant.


We used this borrowed rubber float (thanks, Tom!) to cram that grout into the cracks...until I got tired of it and started using my finger. I have already communicated the folly of this, I believe.


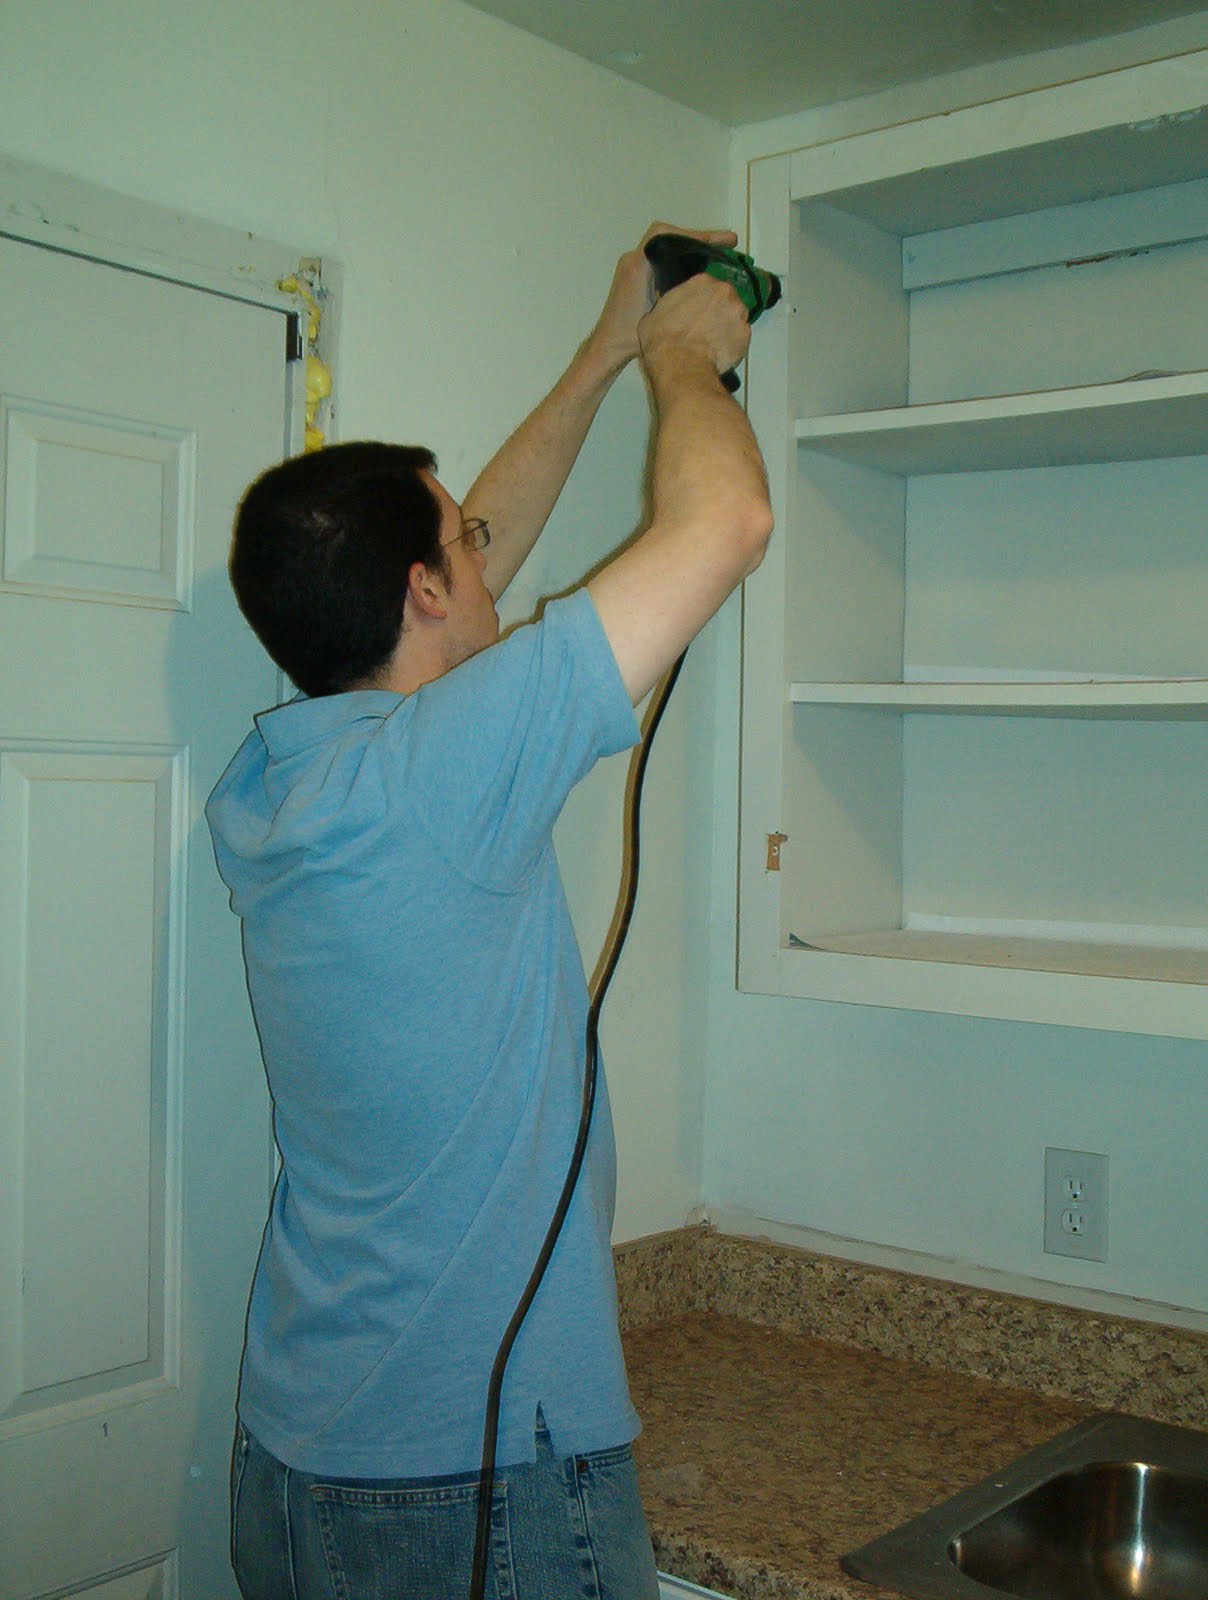
Once the grout was cured, we took down upper cabinetry, removing doors first.


It turns out the cabinet was attached to the wall with screws. Being familiar with these fasteners, we made short work of removing them.


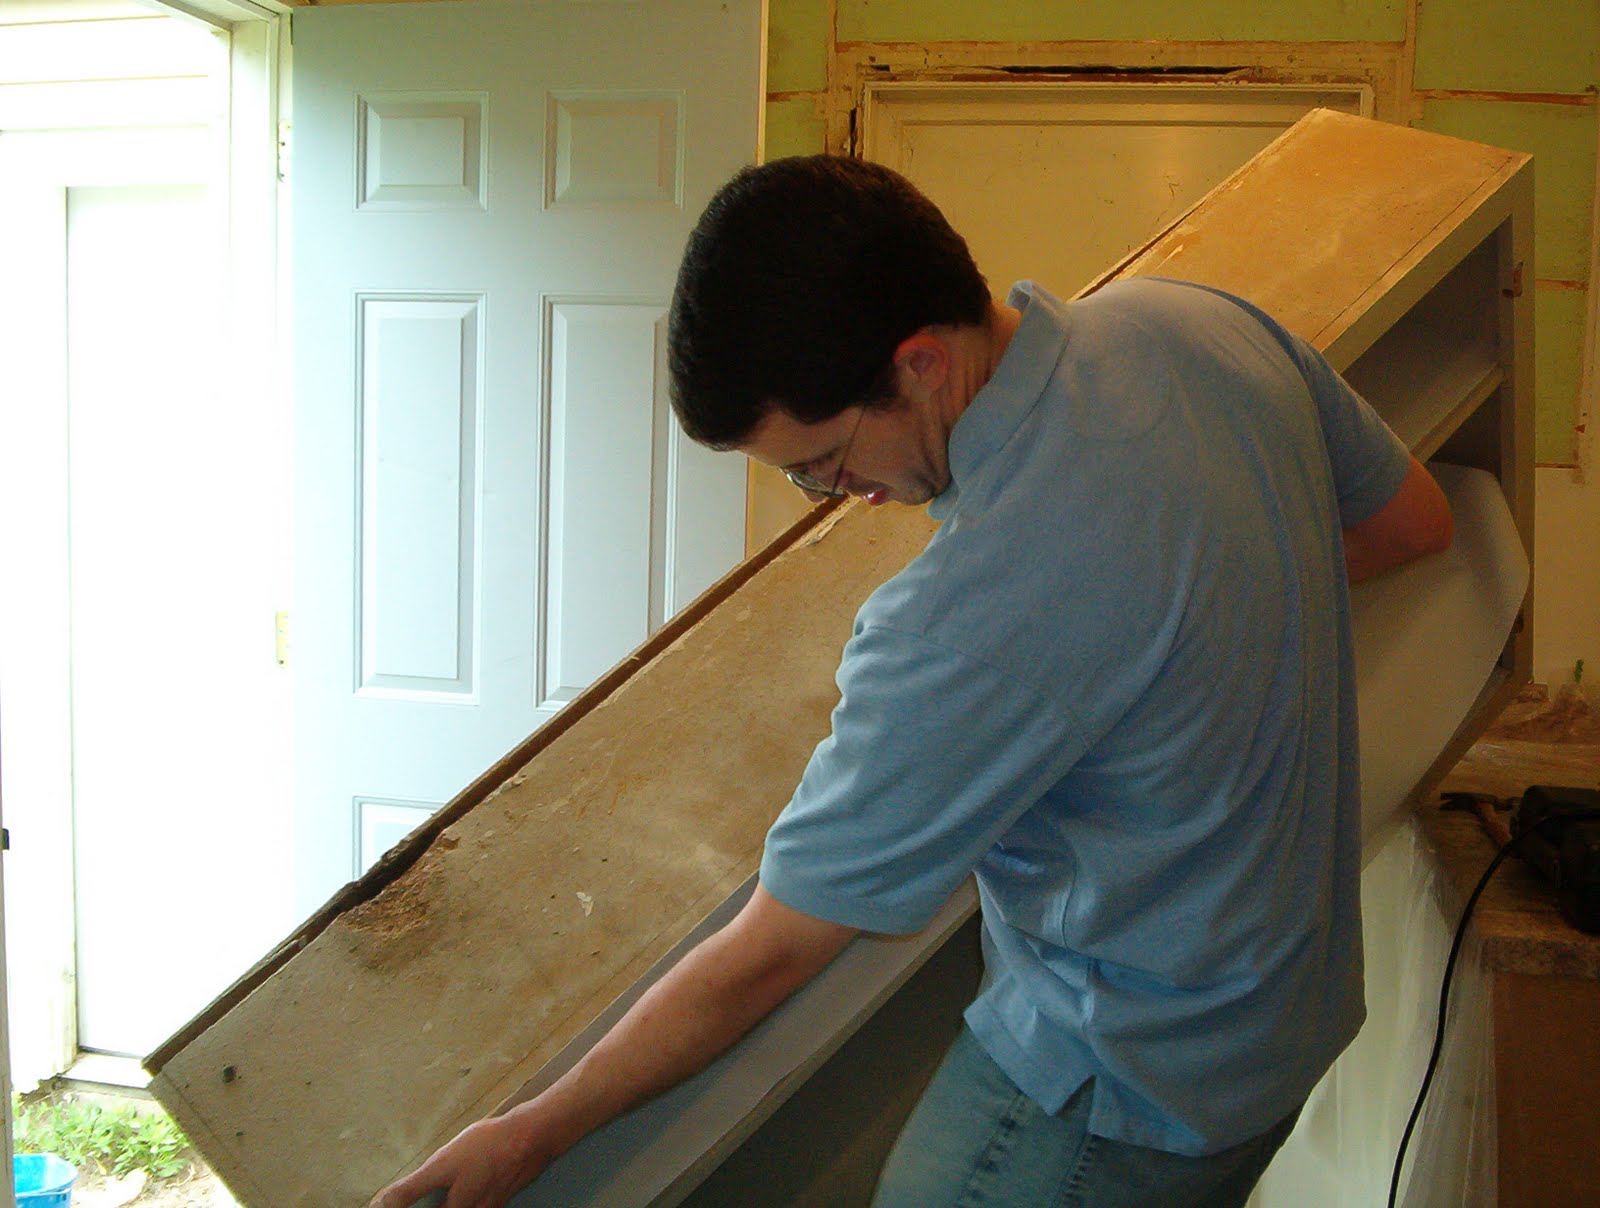
Don't worry, folks, this was UNIMAGINABLY HEAVY.


To drive the point home, it was a full TWO HOURS between that last picture and this next one. Okay, not really, but it sure felt like it.


SURPRISE.


Then we removed the window, opening a channel betwixt the world of the kitchen and the world of the utility room. HELLO.


Ah, yes, and something new, about which I have not yet blogged. Do you know what it is? It apparently took four grown men to do it:


And they did it quite well. BEHOLD!


Do you know what they did yet?


I leave you with a panorama of what is now our kitchen.


You've come a long way, kitchen. [sniffle]


II Corinthians 5:17 - Therefore if any man [be] in Christ, [he is] a new creature: old things are passed away; behold, all things are become new.

Friday, April 30, 2010

Mint Frosting

So, we got our new countertops, and we got our new tile, and we painted the lower cabinets. We then had to agree on what color the kitchen walls would be. This turned out not to be trivial. On an individual basis, we sifted through nearly a hundred different shades of yellow, violet, and green. We then ranked the top three or four of each color, and found that we were both particularly fond of a color called Mint Frost.

Now, Annie doesn't go for minty delicacies. They remind her of toothpaste, which she doesn't consider food for some reason I can't fathom. I, however, love mint. I've never met a culinary delight that included mint that I didn't like. And so I am thrilled that our kitchen walls are slowly turning into a constant reminder of the fact that when I get a mint and Annie gets a mint, what really happens is I get two mints.

Ecclesiastes 4:9 - Two [are] better than one; because they have a good reward for their labour.

Wednesday, April 28, 2010

Grout!

I love the word grout. Sometimes you sit and think about the sounds that make up a word and think, Those sounds are weird and do not suit the item or action they represent. Not grout. I could repeat that to myself for a hundred years solid and still think, That's pretty much what the name of that stuff should sound like.

Grout goes a long way. I mixed up a batch, and we started using a (borrowed) rubber grout float (thanks again, Tom!) to start smushing it in between the tiles. You're supposed to use 45 degree angles and 90 degree angles and pat dry and wipe softly, so softly that it's like kissing a baby, et cetera, et cetera, et cetera. We kinda did that. By the end of it, we were pretty much just shoving into the cracks by hand, smoothing it with the tip of my finger (which hurt -- i don't recommend it), and scrubbing it off afterward.

How did it turn out? Pretty well, for a first grouting job. It has a few minor imperfections, and here's a list of suggestions to help you avoid our problems:

1) Do exactly what the instructions tell you to do, at the specified time, with the specified equipment, in the specified manner.

End of list.

Really, we just had some minor discoloration, and some of the grout didn't turn out very smooth at all. We let it dry a day or two, and we sprayed on some sealant to keep a spilled glass of water from destroying our kitchen.

Our kitchen continues to evolve...we'll keep you posted!

Monday, April 26, 2010

TILING

The next step in our long tiling ordeal was the tiling itself. We realized that we needed to get some modified thinset mortar if we were going to meet manufacturer's recommendations, so the cheap stuff we bought before wasn't going to cut it. "Modified thinset" is a type of mortar that is strengthened with latex (or similar substance).

After another trip to the home improvement store, I mixed up a batch of mortar and I was off to the races. We had about 100 square feet to cover, and I was eager to get it done. I started about 7pm on a Thursday night. Why so late? Because we had to wait 24 hrs. before the thinset under the concrete backer board was cured.

First, I had to "mud and tape" all of the joints in the concrete backer board. Once all that was done, I started laying tile. First, you slap it onto the backer board, then you backbutter the tile. Since we were using 13-inch tiles, the manufacturer recommended spreading mortar on the back of each tile to aid in adhesion.

The trowel for laying tile has some neat grooves in it, and I think it was this single fun part of the job that kept me alive. I finished laying tile about 5:45 on Friday morning.

Perhaps I'm a bit slow, I don't know.

That Friday was a hard day at work, but I prayed a lot and God got me through.

Pics later!

Saturday, April 24, 2010

Pictures!

I know, it's a rainy Saturday, and you have nothing else to do, so VIEW THESE PICTURES! They are of me installing concrete backer board. ENJOY THEM.